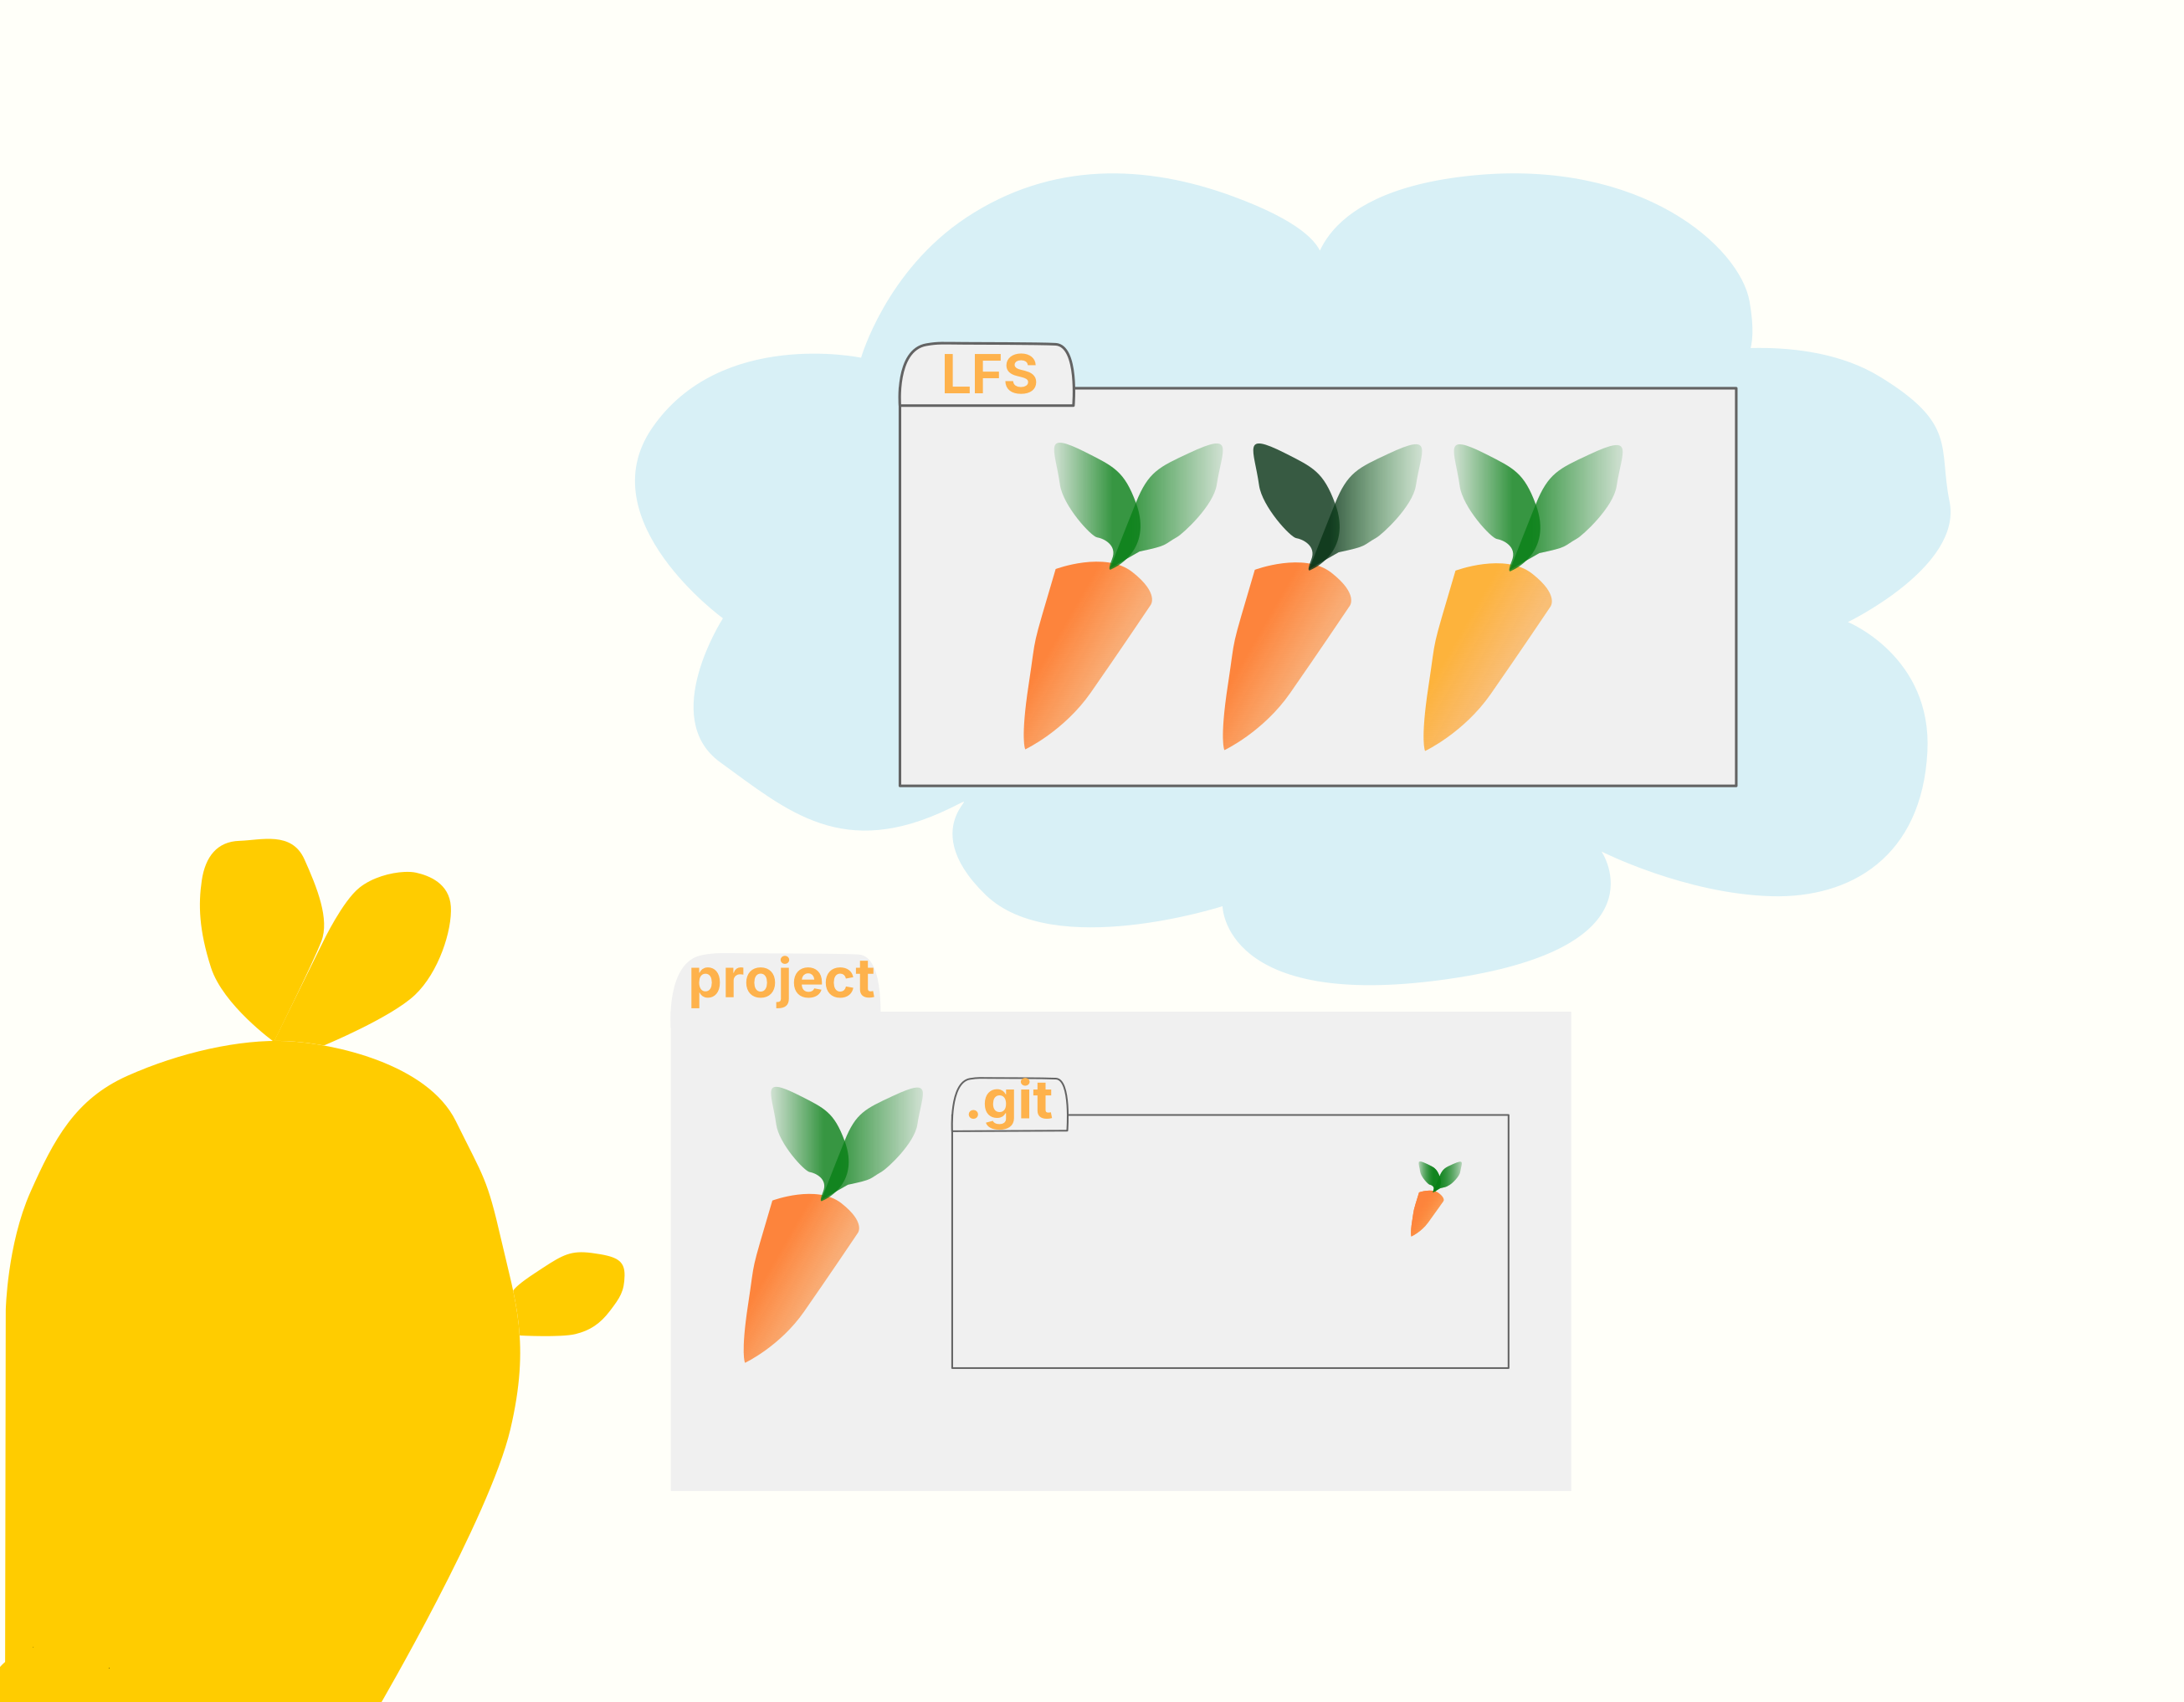
From the first part of “To Git or Not to Git”, you have a clearer idea about which binary files belong in Git and which do not. Those that do belong in Git share some characteristics: they are not too large and you don’t change them often – or, at least, you don’t commit the changes as often.
Sometimes, though, you do want to version larger binary files, often those files
that are tightly coupled to your code. Think, for instance, of a slide deck for
a conference presentation or maybe a tutorial for the next class – unless it is
an equation-heavy slide deck, where you might prefer LaTeX to a binary format
like .pptx or .odp.
But if you do go with a binary file for your presentation, this file can get large enough to become a pitfall. For instance, GitHub won’t allow files over 100 MB; and while a 99 MB binary file slips through, a commit of a tiny change adds another 99 MB to your repo. As your repository grows in size, working with it in Git can get sluggish. That said, as long as you’re actively working on your binary file, alongside the code or the project it is part of, it can live close to your repo – in a Git extension called Git LFS. This helps your repo stay small and your regular Git operations run faster. Once you’re done working on your binary file, if it becomes standalone and citable, for instance, because you’ve presented it, you can move it to an open repository like Zenodo.
Git LFS
Git LFS stands for Git Large File Storage and is an open source
Git extension for versioning larger files. It works by storing the actual large
files on a remote server (e.g., GitHub, GitLab, or a self-hosted server) and
only storing small pointers to these files in your repository. Under the hood,
this is implemented using clean and smudge filters, but you don’t have to
bother with any of that – these filters are set in your global Git config once
per machine when you run git lfs install.
- Clean works on commit to store the actual content of your large file in Git LFS; your Git repo only gets a small text pointer file.
- Smudge works on checkout to use the pointer to retrieve the actual large file in your working tree; you only get the specific version you need at that moment, rather than all versions of the large file.
Worth knowing
Git LFS will not magically make storage problems disappear. Your large files still need to live on a remote server; depending on your host and plan, this comes with its own limits, whether these limits are imposed by an institution (e.g., usually soft caps via internal storage quotas) or a vendor (hard caps per file/repository size, LFS storage, or bandwidth for clones and pulls).
Imagine you’re using GitHub’s Free LFS plan (10 GB LFS for storage, 10 GB bandwidth for download for each billing cycle). Say your repo has a slide deck of a few megabytes and a 500 MB dataset. Let’s look at some possible scenarios:
- If you now commit and push 20 new versions of your dataset, you will run out of storage, since binary files are stored in full each time. Without paying for additional LFS use, you won’t be able to push further versions of your dataset for the rest of the month.
- If your GitHub repo is public, you can run out of bandwidth for the month in a jiffy: it takes only 20 clones or pulls by peers or collaborators. Without payment, any further downloads will only retrieve the small pointer files in your repository.
Both storage and bandwidth reset at the start of each billing cycle, but your storage usage depends on what you store, regardless of when it was stored. And while other hosts and plans have other size limits, you might be better off storing large citable assets like datasets in a data repository or cloud storage.
Would you rather watch? This part and the basics of Binary Files and Git Attributes are covered in this video:
Using Git LFS in practice
To use Git LFS, you probably first need to download and install it, since it is an extension and not part of core Git. Some Git clients support Git LFS out of the box. Note that your collaborators need to install Git LFS too, otherwise they only get the pointers instead of the actual files.
Once you have Git LFS installed, you can let Git know which files should be
managed by it. For instance, to track .pptx files, you can run the following
command:
> git lfs track "*.pptx"
Tracking "*.pptx"
You can also track selected .pptx files only instead of all .pptx files,
e.g., git lfs track slides.pptx. Whichever way you choose will create or
modify an existing .gitattributes file – the Git attributes we talked about in
the first part are also used to specify which file patterns we track using Git
LFS.
You then stage and commit the (changes to your) .gitattributes file, to share
the tracked file patterns with those who clone your repository:
git add .gitattributes
git commit -m "track .pptx files using Git LFS"
You can now stage, commit, and push your Git-LFS-tracked files just like you would normally do in Git:
git add slides.pptx
git commit -m "add slide deck"
Ideally, you should track a file with LFS before you commit it. If your slide
deck was already part of your repository’s history when you ran git lfs track,
you can convert its latest version to LFS – for instance by removing it from Git
without deleting the file from your working tree and then adding it back. But
git lfs track will not track it retroactively; any older versions are still
in Git, still bloating your repo. To clean your repository, you need to rewrite
history by
migrating existing files to use Git LFS.
If you then change your mind and no longer want to use Git LFS, you can also use
LFS migration to convert a repository back to plain Git.
In a nutshell
Git LFS works well for a small number of larger binary working artifacts that are tightly coupled to your project’s code, revised infrequently, and by just a few people. For other situations, your large files are better off elsewhere, like in an open repository or the cloud.